G-TOOLS: the complete finishing and polishing protocol for G-CAM
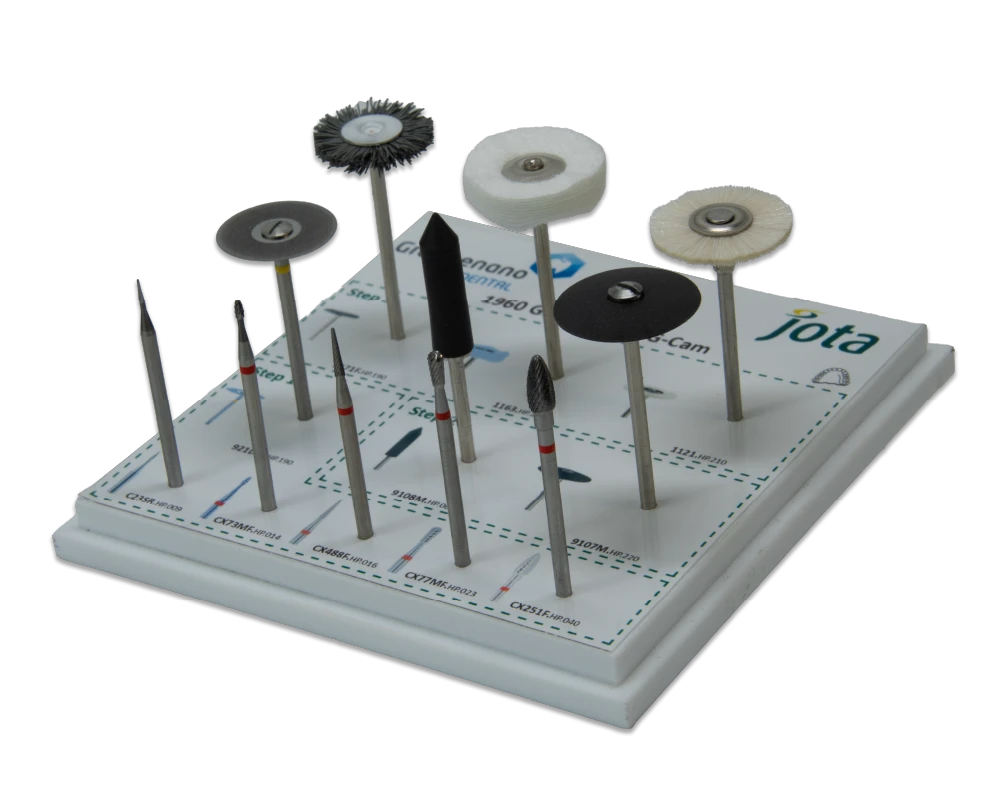
A kit developed specifically to separate, adjust, smooth and polish restorations made with G-CAM through a process organised in three steps.
Finish the milled restoration as it comes out of the machine
After milling, the restoration must be separated from the disc, the connectors removed, the anatomy defined, the surface evened out and the final polish applied. G-TOOLS brings together the instruments needed to complete these stages through an orderly, reproducible protocol developed specifically for G-CAM and G-BLOCK.
It is not a generic selection of instruments: each tool has a defined function, stage and working speed.
The final result depends on every stage
Finishing is not a cosmetic touch-up: it is the stage that turns a milled piece into a restoration ready to be placed in the mouth. Each stage of the protocol has a specific goal and prepares the surface for the next.
Control
Controlled removal of connectors, correction of small irregularities and margin treatment without compromising the piece.
Precision
Definition of the anatomy and work on occlusal and interproximal areas with the right tool for each geometry.
Efficiency
An orderly three-step workflow, easy to apply and repeat piece after piece, that systematically reduces milling marks.
Finish
Smooth, even surfaces, ready for the final gloss and the next stages of the workflow.
Three steps, one reproducible result
Each step brings together specific instruments and a defined speed range.
Trimming
Initial trimming, anatomical shape and fine details
Tungsten carbide burs and diamond disc
20,000–25,000 rpm · disc 12,000 rpm
Smoothing
Silicone polishers to soften and smooth the G-CAM surface
Universal silicone polishers
5,000–9,000 rpm
Gloss
Surface sealing and mirror-gloss finish
Polishing brushes and discs
10,000–12,000 rpm
Step 1. Separate, adjust and restore the anatomy
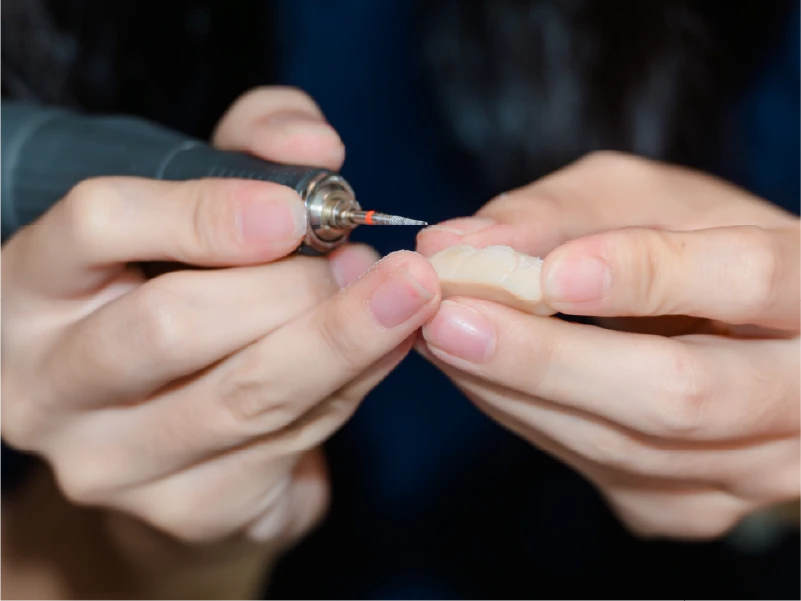
The first stage works on the freshly milled restoration: separation from the G-CAM disc, connector reduction, adjustment of contours and thicknesses, and restoration of anatomical detail in occlusal and interproximal areas.
- Separate the restorations from the G-CAM disc.
- Remove or reduce connectors.
- Reduce thickness and adjust contours.
- Refine occlusal and interproximal areas.
- Restore anatomical details.
Burs: 20,000–25,000 rpmDiamond disc: ≈12,000 rpm
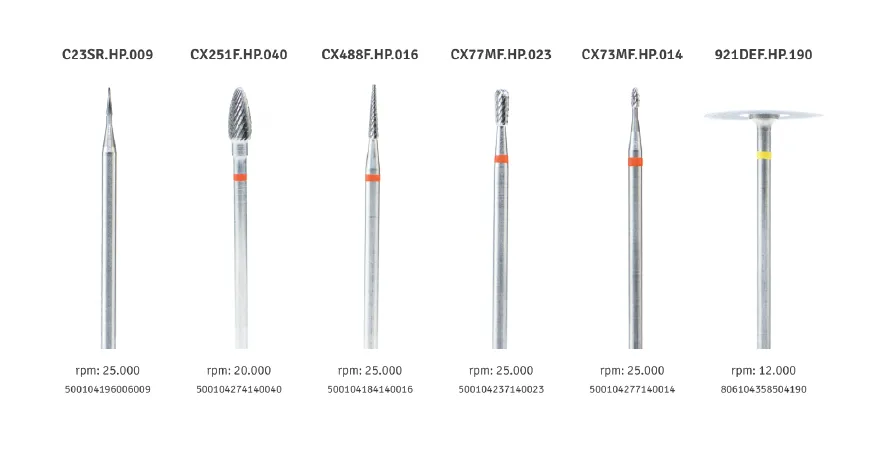
C23SR.HP.009 – Tapered bur
Cutting the connectors that join the prosthesis to the G-CAM disc, and fine interproximal and occlusal details.
CX251F.HP.040 – Acorn bur
Mainly for trimming connectors and reducing thickness.
CX488F.HP.016 – Lance bur
Interproximal areas and narrow-access zones
CX77MF.HP.023 – Pear bur
Contours and convex surfaces
CX73MF.HP.014 – Olive-stone bur
Fine anatomical details.
921DEF.HP.190 – Diamond disc
Interproximal separation of units.
Step 2. Even out and prepare the surface
Two universal silicone polishers soften the surface, remove small irregularities after milling and reduce trimming marks. The choice of shape depends on access and the geometry of the area.
5,000–9,000 rpm
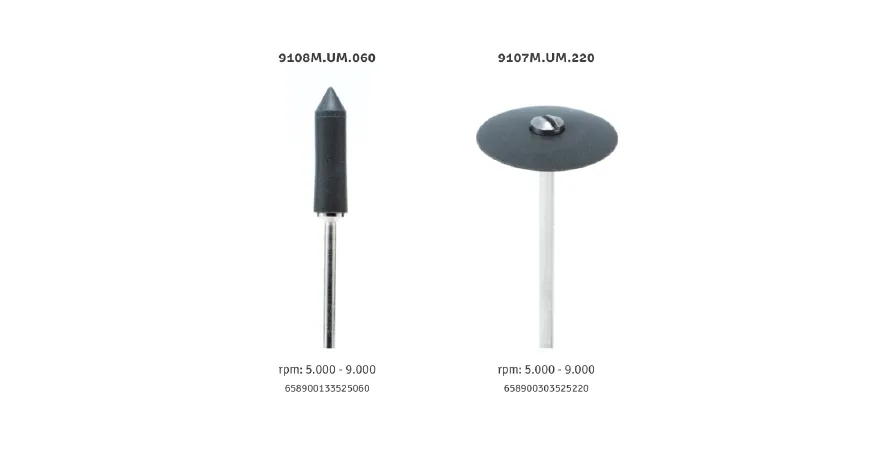
9108M.UM.060 - Cylindrical polisher
Larger surfaces and occlusal areas.
9107M.UM.220 - Lens-shaped polisher
Interproximal and anatomical areas.
Step 3. Polish, even out and achieve the final finish
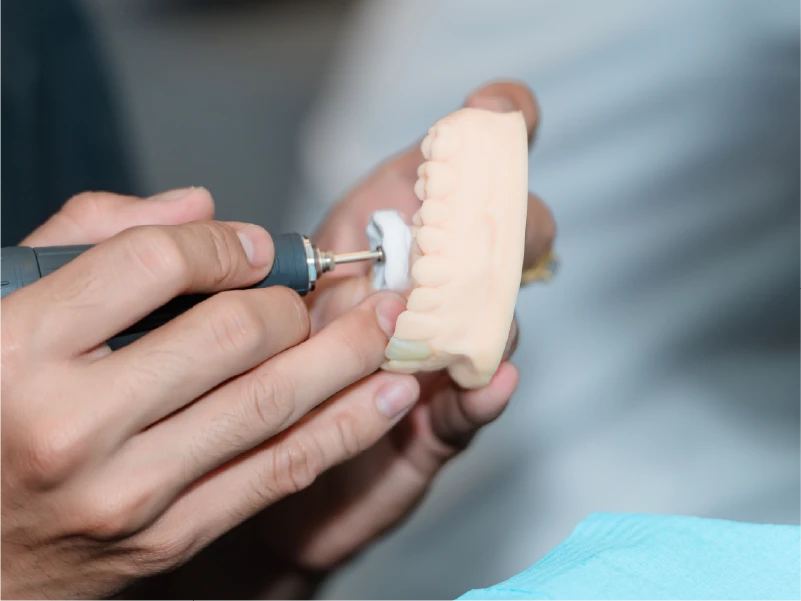
The final stage combines brushes and discs to even out the surface and enhance the gloss.
- Polyamide brush — polishing of geometries and anatomical areas.
- Cloth disc — evening out larger surfaces.
- Goat hair brush — final gloss.
10,000–12,000 rpm
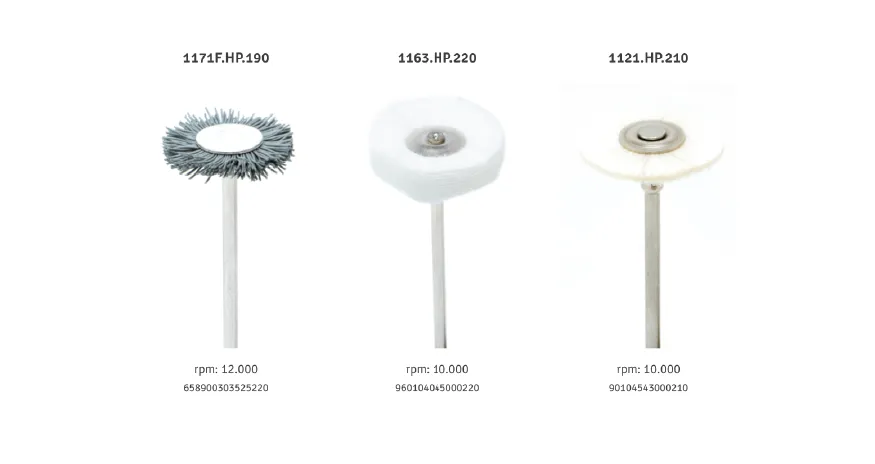
1171F.HP.190 - Fibre brush
Surface polishing and pore sealing.
1163.HP.220 - Cloth disc
Polishing and gloss on all surfaces of the piece.
1121.HP.210 - Goat hair brush
Polishing and gloss on all surfaces of the piece; compatible with polishing emulsions.
Packaging and purchase
G-TOOLS
€180 Available now
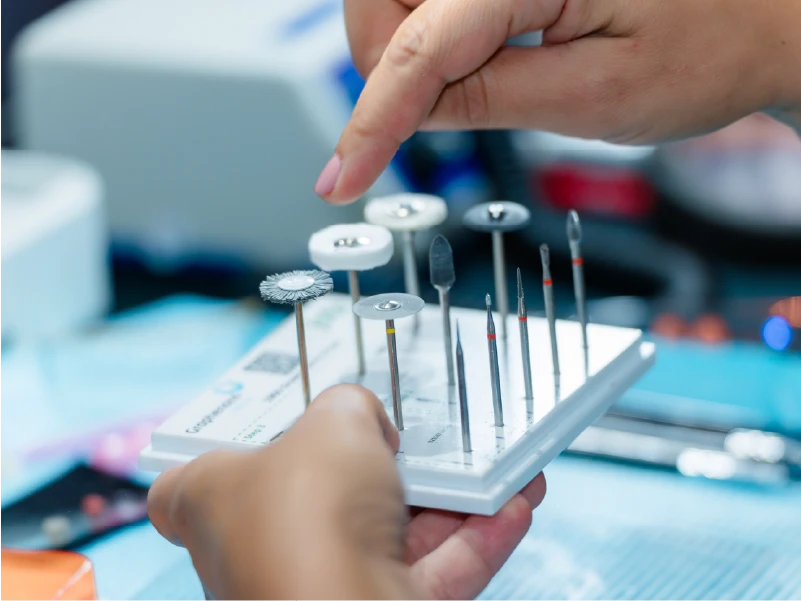
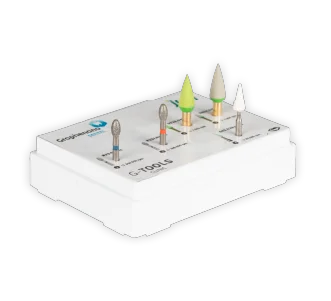
Complete laboratory finishing kit: 11 instruments organised in three steps, with a holder screen-printed with the work sequence.
- Producto: G-TOOLS — laboratory
- 11 instruments.
- Taxes: VAT not included, depending on market
Shipping and availability vary by market. Check terms with your distributor.
Learn the protocol, download the documentation

G-TOOLS kit presentation
Video · ES, EN subtitles

Separation and shaping (Step 1)
Video · ES

Surface smoothing (Step 2)
Video · ES

Polishing and final gloss (Step 3)
Video · ES
Documentation centre
Professional training and support
In-person and online training on the complete protocol: tool selection, speeds, restoring anatomy, connector treatment and troubleshooting. Direct technical support for laboratories.
Learn the protocol, download the documentation
Trimming the G-CAM structure
Video · ES
Characterisation and staining
Video · ES
Gingiva characterisation
Video · ES
Professional training and support
In-person and online training on the complete protocol: tool selection, speeds, restoring anatomy, connector treatment and troubleshooting. Direct technical support for laboratories.
Graphenano Dental ecosystem
Related products
Each product has a specific place in the restoration workflow.
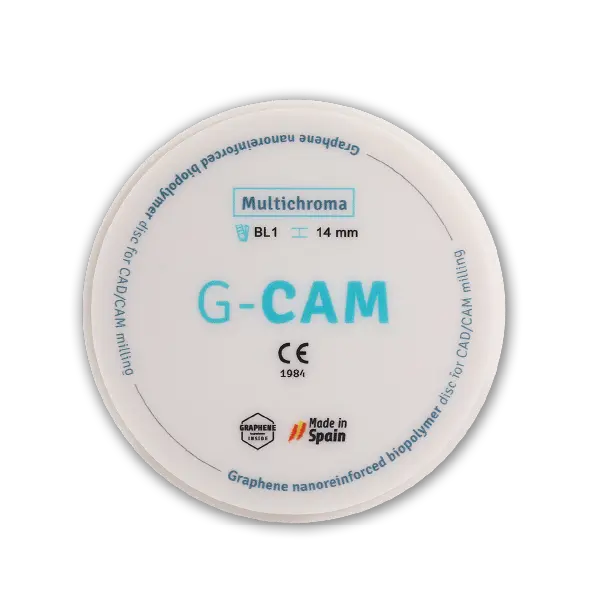
Polishing kit · Laboratory
G-TOOLS Clinic
G-CAM polishing kit for an optimal finish in the clinic.
Answers to the most common questions
It is the professional laboratory polishing kit developed by Graphenano Dental, designed specifically for finishing restorations made with G-CAM and G-BLOCK: separation, shaping, smoothing and gloss in three steps.
G-TOOLS covers the complete laboratory protocol after milling. G-TOOLS Clinic is a more compact kit for adjustments and polishing in the clinical setting, and does not necessarily replace the full laboratory protocol.
Four tungsten carbide burs (tapered, lance, pear and acorn), a diamond disc, two silicone polishers (cylindrical and lens), a polyamide brush, a cloth disc and a goat hair brush.
As a guide: carbide burs 20,000–25,000 rpm; diamond disc ≈12,000 rpm; silicone polishers 5,000–9,000 rpm; polishing brushes and discs 10,000–12,000 rpm. Always confirm with the current documentation.
The goat hair brush can be used with polishing emulsions designed for polymers or composites.
Yes, the instruments are reusable, provided they are properly cleaned after each use, removing any debris built up on the cutting areas that could affect their performance.
Some components are subject to wear and must be replaced periodically to ensure optimal performance, such as the silicone polishers and the brushes used in step 3 (gloss).
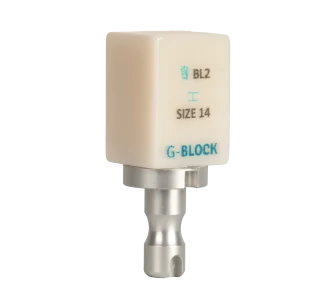
G-TOOLS is developed and validated for G-CAM and G-BLOCK restorations.
Yes, spare parts are sold separately, subject to availability and minimum order conditions. They can also be purchased together with your G-CAM or G-TOOLS products.
Availability of individual instrument replacements is pending validation. Check with your distributor or technical support.
Yes. Graphenano Dental offers in-person and online training on the complete protocol. You can also scan the QR code included in your kit to go straight to a step-by-step video of the 3-step protocol for an optimal finish and polish.
From the Graphenano Dental professional online store or through the network of authorised distributors.