1. Scanning and Design
2. CAD / CAM milling
3. Removing the restoration from the disc
4. Dental Anatomy verification
5. Sandblast with aluminium oxide
6. Spray with alcohol
7. Apply acrylic primer and light-curing
8. Stains and glaze with light-curing materials
1. Scanning and Design
2. CAD / CAM milling
3. Removing the restoration from the disc
4. Dental Anatomy verification
5. Flasking process
6. Cut-Back Technique
7. Sandblast with aluminium oxide
8. Apply acrylic primer and light-curing
9. Injection of the incisal or gingiva area
10. Characterization with stains o manual polishing
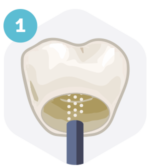
Sandblast with aluminum oxide
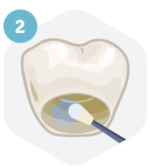
Clean with alcohol
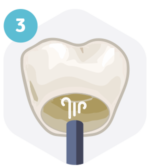
Dry with pressured air


Sandblast with aluminum oxide

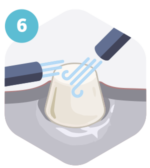
Remove the excess with air
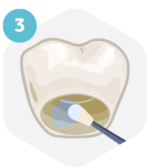
Clean with alcohol and let dry (60 s)
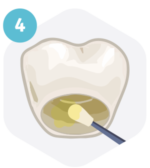
Apply a thin layer of acrylic primer and light curing
Clean and isolate the tooth with a rubber dam
Apply etchant gel (at 37% of phosphoric acid)
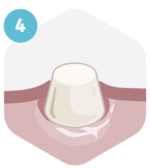
Rinse thoroughly with water and dry
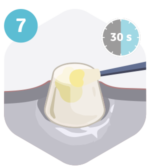
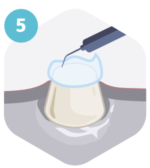
Apply the primer and light curing
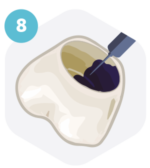
Apply dual cement

Firmly press and
remove the excess of cement
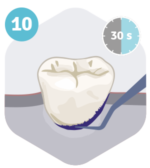
Polymerize (30 s)
and remove the excess of cement
*For more details about the work protocols, click here.